Digital art can seem like an overwhelming task. How do you get started? Where do you find your inspiration? These are some of the questions you may have asked yourself. The power of computer for producing art is limited only to your imagination; however, I will show you how you can make digital art in Photoshop in 3 easy steps.
Step 1: You will need a photo that you took. It could be something that you took on a vacation or when you went for a walk around your house. It can be of any subject as long as it is important to you; however, in my experience, landscapes or cityscapes tend to work the best.
Step 2: You will need to import your photo into Photoshop. There are two main ways to bring your image into Photoshop. The first method is to simple open a file already your computer. This is done by going to File found in the left side of the screen, and then clicking on Open (you can also use Ctrl + O). This will bring you to the Open Function box. Now you can find your photo and open it. The second method is to scan your photo directly into Photoshop. This is done by going to File found in the left side of the screen, and clicking then Import, and then TWAIN_32. This will bring you to the Scan Function Box. Simple follow the steps outlined, and your photo will be scanned into Photoshop.
Step 3: This step is where all the fun is. You can now start to manipulate your photo. I like to start with the Filter Function (this can be found on the tool bar on top of the screen). Play with the different filters that they have available. I always start with the Artistic filters. My favorite is the Colored Pencil. Let's apply the filter to your photo. Once you click on the filter it will bring you to the Colored Pencil Control Box. This is where you can adjust the width, pressure, brightness of the pencil. After you have it the way you like it, click OK. The effects will be applied to your photo. When the effect has been applied, go back to Filter Function and click Fade Color Pencil. This will bring you to more controls that you can use to modify the Colored Pencil effect that you have on you image. Play with the different Modes until you have the effect that you like. Now you can choose a different Filter and follow the steps to see what different effects you can add to your image. Continue adding the filters that you like until you have you art just the way you like it.
Note: The filters use the colors you have selected on the floating tool bar. These colors can be changed by clicking on the color (this can be found on the bottom of the tool bar) and changing it to what ever color you wish.
In conclusion, I will give you a quick recap on how to make digital art in Photoshop in 3 easy steps. Step one is to find your photo. I've found that landscapes or cityscapes works best for this. Step two is to bring your photo into Photoshop. This can be done by opening it from your computer or scanning it directly into Photoshop. Step three is to manipulate your image with the different filters Photoshop has to offer. Continue applying the filters until you digital art is exactly how you like it. Now go out there, and have fun creating.
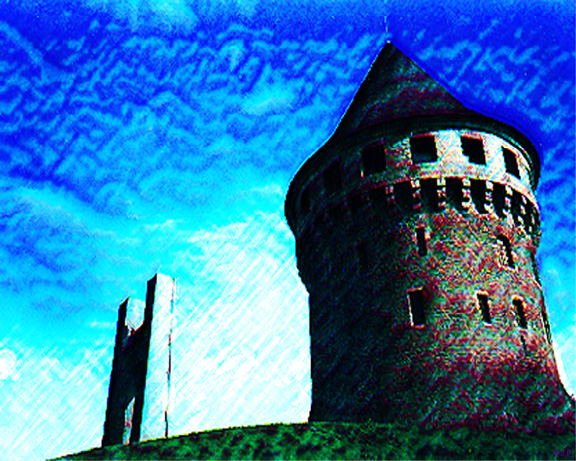
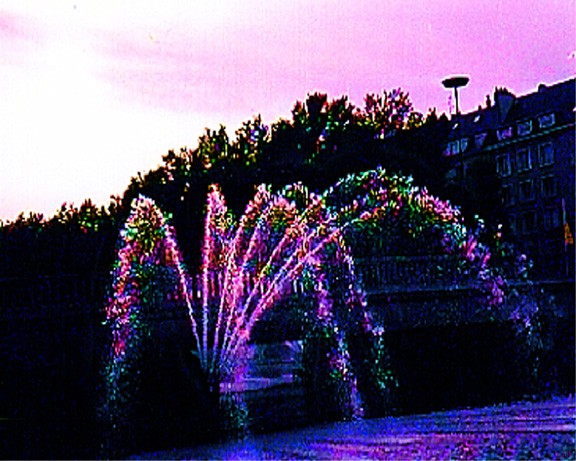
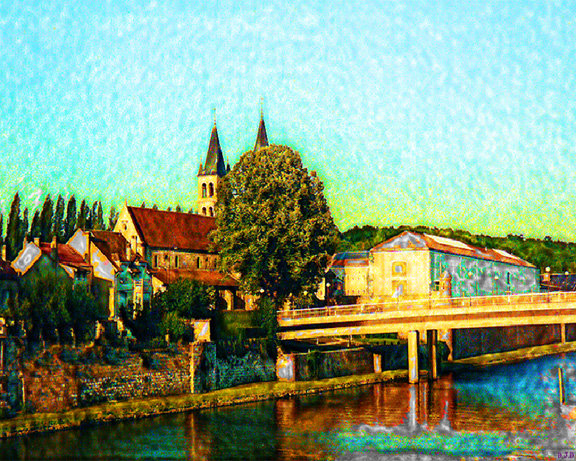
Note: All three images where made in Potoshop.
Step 1: You will need a photo that you took. It could be something that you took on a vacation or when you went for a walk around your house. It can be of any subject as long as it is important to you; however, in my experience, landscapes or cityscapes tend to work the best.
Step 2: You will need to import your photo into Photoshop. There are two main ways to bring your image into Photoshop. The first method is to simple open a file already your computer. This is done by going to File found in the left side of the screen, and then clicking on Open (you can also use Ctrl + O). This will bring you to the Open Function box. Now you can find your photo and open it. The second method is to scan your photo directly into Photoshop. This is done by going to File found in the left side of the screen, and clicking then Import, and then TWAIN_32. This will bring you to the Scan Function Box. Simple follow the steps outlined, and your photo will be scanned into Photoshop.
Step 3: This step is where all the fun is. You can now start to manipulate your photo. I like to start with the Filter Function (this can be found on the tool bar on top of the screen). Play with the different filters that they have available. I always start with the Artistic filters. My favorite is the Colored Pencil. Let's apply the filter to your photo. Once you click on the filter it will bring you to the Colored Pencil Control Box. This is where you can adjust the width, pressure, brightness of the pencil. After you have it the way you like it, click OK. The effects will be applied to your photo. When the effect has been applied, go back to Filter Function and click Fade Color Pencil. This will bring you to more controls that you can use to modify the Colored Pencil effect that you have on you image. Play with the different Modes until you have the effect that you like. Now you can choose a different Filter and follow the steps to see what different effects you can add to your image. Continue adding the filters that you like until you have you art just the way you like it.
Note: The filters use the colors you have selected on the floating tool bar. These colors can be changed by clicking on the color (this can be found on the bottom of the tool bar) and changing it to what ever color you wish.
In conclusion, I will give you a quick recap on how to make digital art in Photoshop in 3 easy steps. Step one is to find your photo. I've found that landscapes or cityscapes works best for this. Step two is to bring your photo into Photoshop. This can be done by opening it from your computer or scanning it directly into Photoshop. Step three is to manipulate your image with the different filters Photoshop has to offer. Continue applying the filters until you digital art is exactly how you like it. Now go out there, and have fun creating.
Note: All three images where made in Potoshop.
 RSS Feed